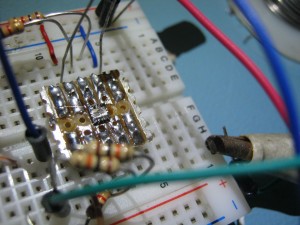
This weekend we were graced with two public holidays, giving some much needed time to catch up on some projects.. I managed to make two small things: first above you will see the smallest thing I have ever soldered! A lithium ion battery charger IC from Texas Instruments, the BQ24026, which comes in a 3x3mm 10SON package! I originally planned to make some breakout boards for these guys but as usual time was an issue..
Now the real question is what rush would you need to be in that would even make one attempt this feat?! Well recently a good friend of mines micro-USB port on his phone broke somehow and he was unable to charge it! Initially on him coming to me for help I thought, EASY we just whip off the port and solder a new one on.. However this was not that simple, as inside the port had a hard epoxy over the pins/pads making removal a huge risk. Instead we decided it would be simpler to get a second battery and an external battery charger, long story short we got the battery but not the charger.. Someone however had some charger IC’s lying around.. 😀 😀
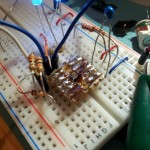
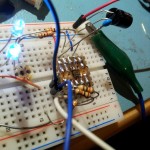
I started by getting an old relay and opening it up to get access to the nice hair thin enameled copper wire on the coil, then a small piece of vero-board and super glued the IC upside down onto it. Next was to turn the temp down on the soldering iron a bit and with a bit of help from a reasonably small tip, some flux and good solder, a bright light and steady hands! individually solder a wire to each TINY pad.. this took some time but got it done and verified there were on shorts with a small handheld micro-scope and continuity test on the DMM. Built the reference circuit on a breadboard, connected a small lithium ion and HEY it works! Couldn’t believe it really! xD 8)
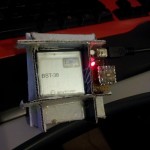
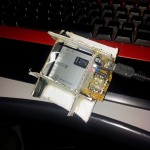
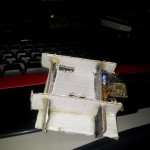
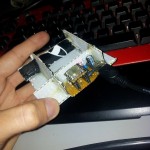
With time quickly running away from us, I encapsulated the makeshift through-hole IC in hot glue to protect the tiny connections, and then proceeded to build the quickest, unplanned, battery dock ever! I used my Ceramic Knife to cut some stiff cardboard up, blued it together with hot glue and added some springy MOLEX connector pins as contacts for the battery! It’s very quick and dirty, but it works! We’ll see how well it lasts over the next few weeks..
Next up was something I’ve been planning on and off for ages, an MSP430 based Serial/UART to LCD controller much like this SparkFun version. I thought it would be best to look at the datasheet for the SparkFun controller and create a similar control scheme for mine since code out there on the net for the SF display would be compatible with my display( LOOK! I even managed to find this compatible Arduino library!) and the SF guys probably know a-lot more about what they are doing than I do xD..
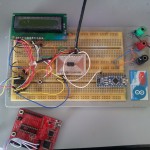
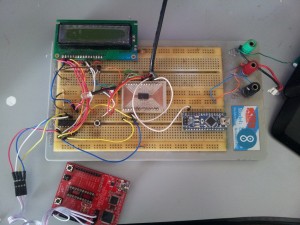
Started out doing some proto-typing on the breadboard. 16×2 char LCD connected to an MSP430G2201 in the bottom left (I used a lower end micro than the G2231 that comes with the launchpad, as its features were overkill for what I needed..) The de-facto FTDI FT232RL for testing serial from the PC and an Arduino nano on the bottom right, for testing the Arduino library I found! The code I used is a mixture of things I found on an awesome site 43oh.com(mostly this infact). I have made the code available here. Be warned it’s still very messy and not 100% tested yet + I still need to add some features like some sort of PWM method for back-light brightness. (at the moment it only turns it on or off..) and a ring buffer on the Rx line to prevent data-loss when performing intensive operations…
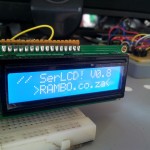
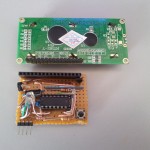
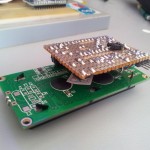
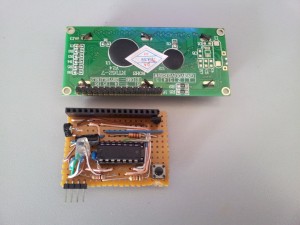
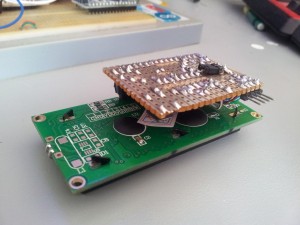
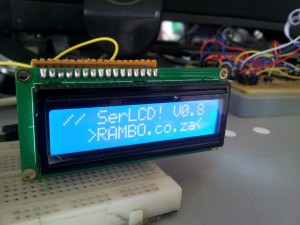
I then built this little vero-board ‘backpack’ for the LCD! now I need only supply power, ground and one data line and I’m sorted! 😀 I will eventually design a dedicated PCB… and tidy up the code a bunch! But for now, a little pic of the splash screen: 8)
Leave a comment or contact me if you’re interested in more info 🙂
Leave a Reply